Process
Kristin, built in the summer of 2018, was my first commission and project after graduating from the Krenov School. Making to the school’s craftsmanship standards, in a (then) foreign shop, and for a specific client, was a new experience.
What did I actually absorb from the nine months at school and what would I relinquish left to my own devices?


I work from scale mock-up and drawings and, of course, the wood. It’s a fluid, back-and-forth, process: negotiating and navigating the functional requirements of the piece, my desires as the maker, and the realities of the wood.
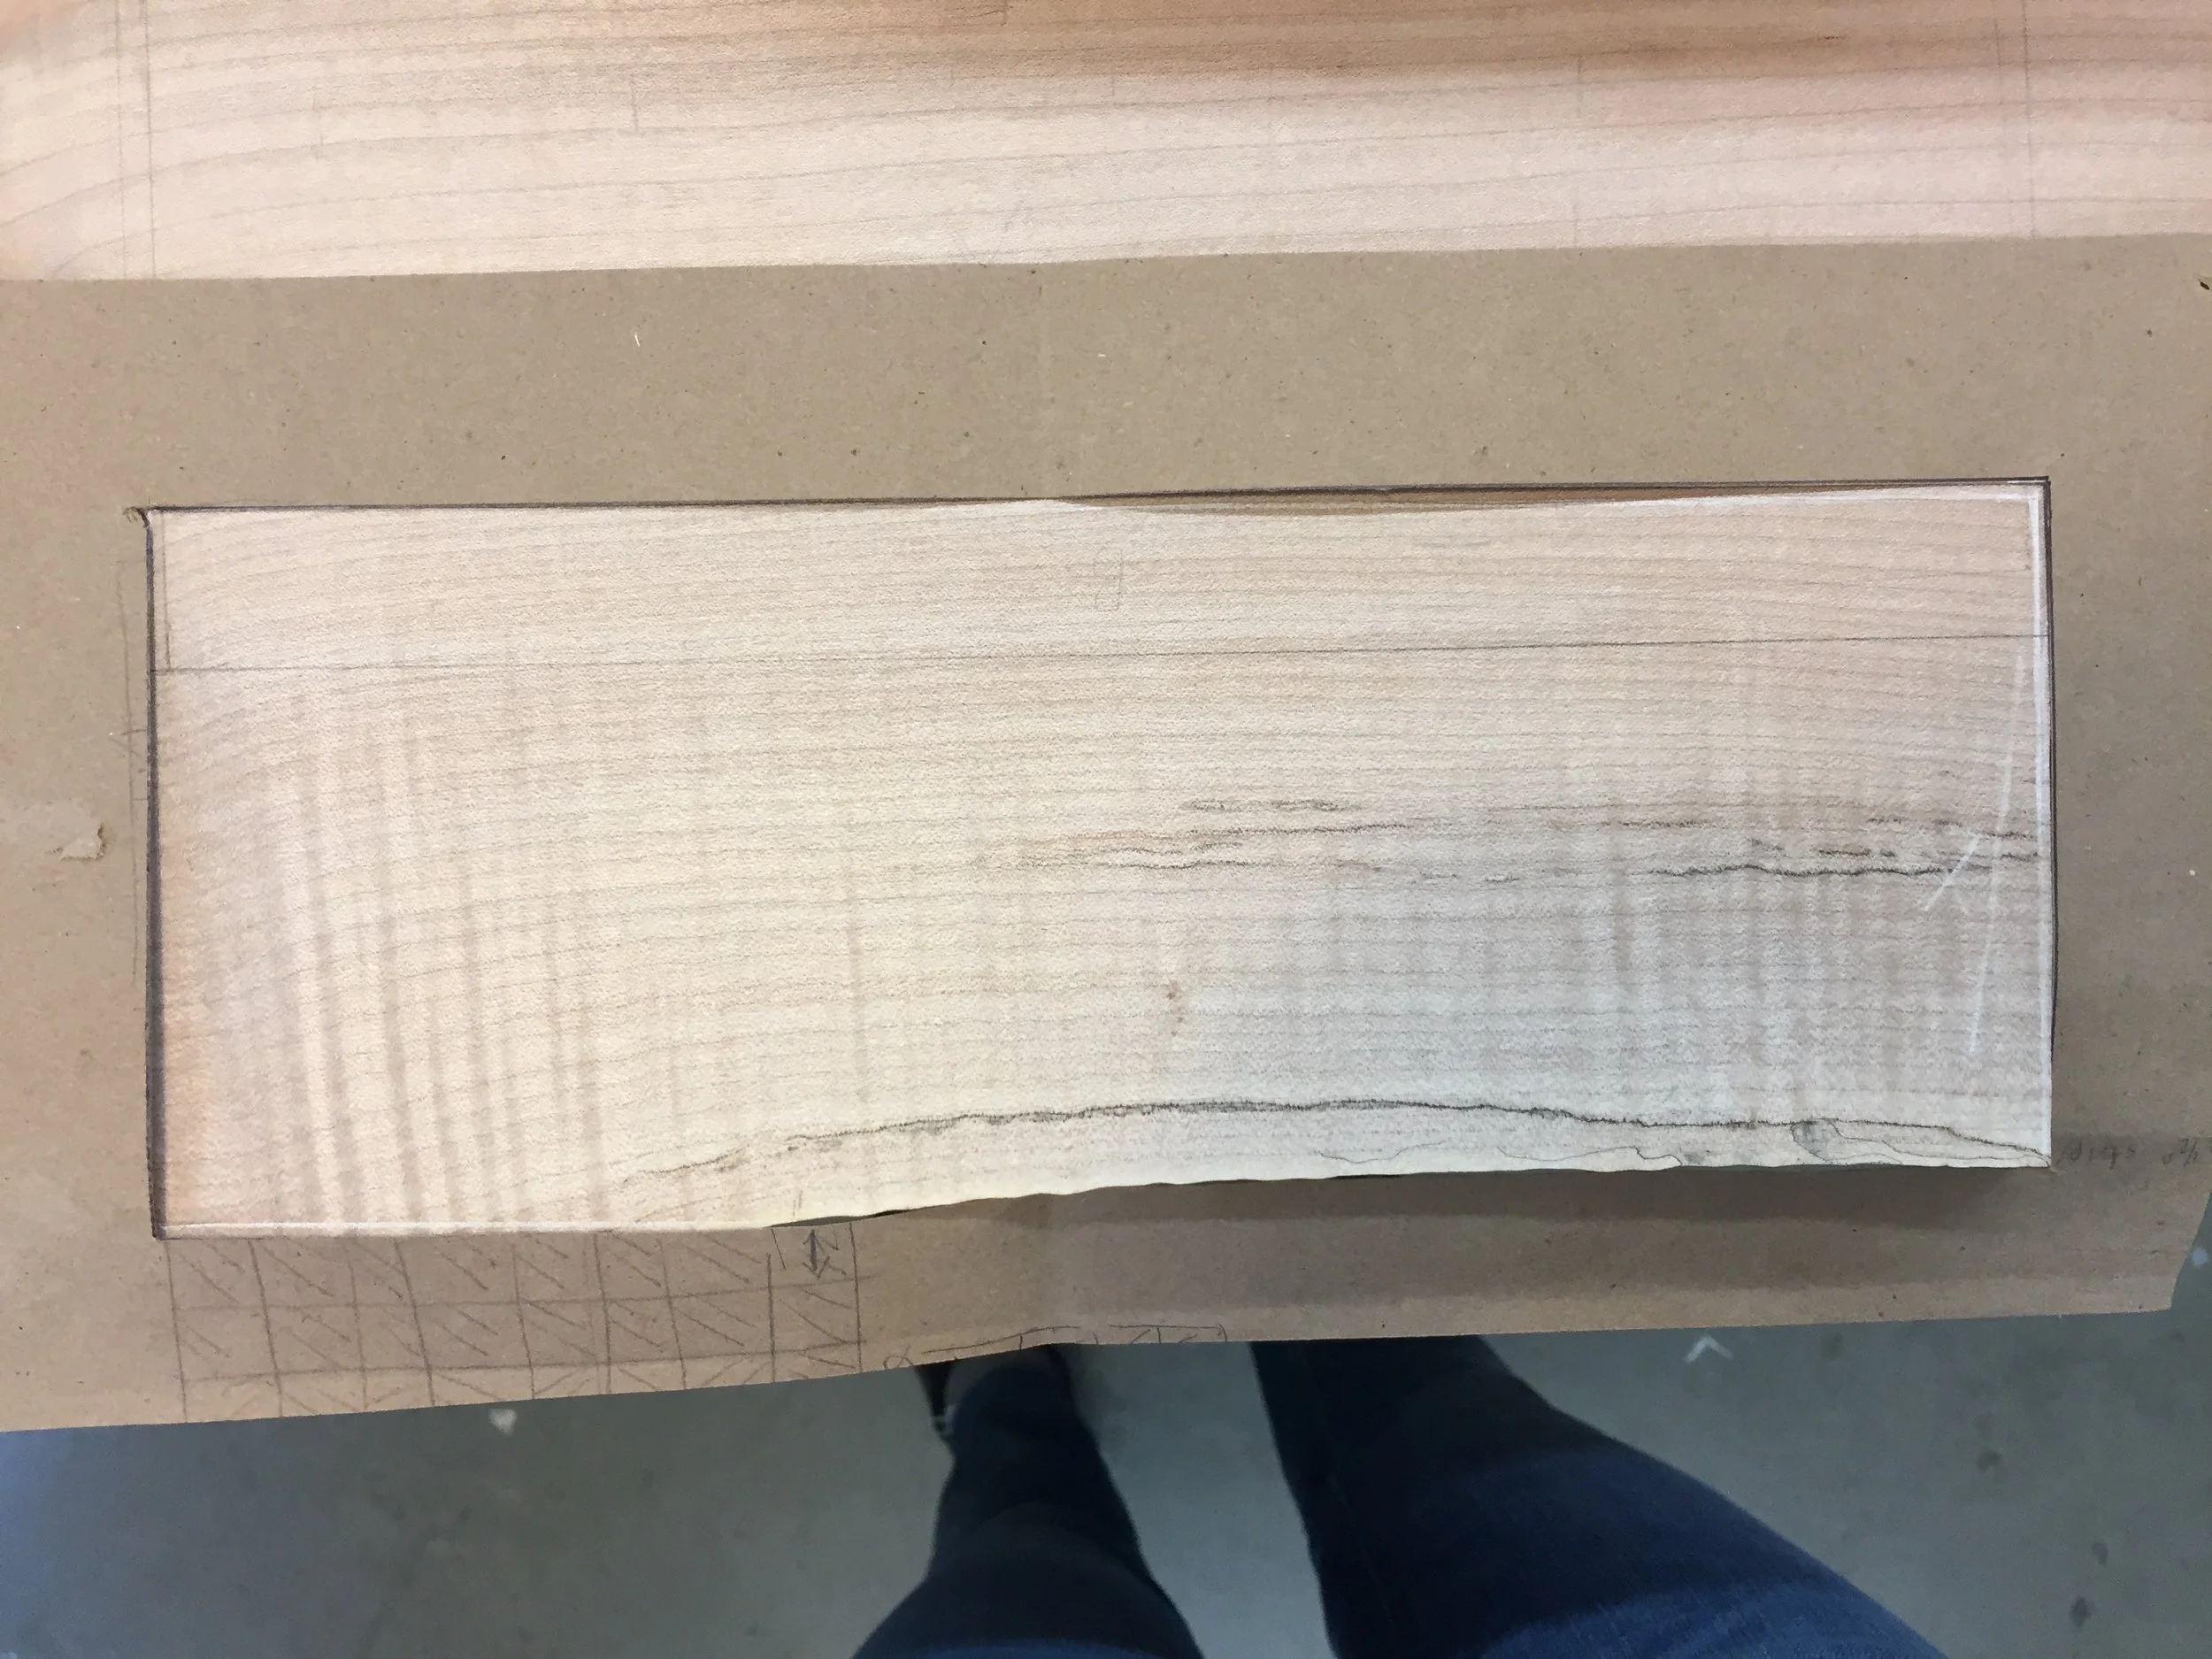


View finders, endgrain, and a little imagination help me select the sections of the board. The spalted maple is from Goby Walnut in Portland, OR, and was the little bit left over from Algos III. I wanted the curl of the maple, the pencil-line-like spalt, and the curved natural edge to play well in the shelf and drawer front. Once resawn, I left the wood to acclimate to its new environment and form.


An accurate, scale drawing is lets me cut joinery. The parts are cut to dimension and the drawer pocket is doweled; the back rabbet and wall hanger mortises are cut; the hanger holes are pre-drilled. The machine work is done as accurately as possible and cleaned up with hand tools. The boards are surfaced and the dowel joints fit using low-angle block planes. The corners of the rabbets are chiseled out after glue-up.


I work through dependencies: what must be done before gluing up? At what stage is the action necessary? At what point is it the most straightforward to perform? I am constantly running the steps backwards from a fixed point in the future (glue up, installation, …) as I progress on the object. The drawer pocket is glued up in two steps: first the bottom, captured between the left and right sides, which is dry-fit onto the shelf for alignment. Once the glue has cured, that unit is glued onto the shelf.


A good drawer run starts with the pocket. I checked the sides for flat after glue up and then dimensioned the drawer parts to fit. Here was a compromise between the desired effect and the realities of the wood: I couldn’t easily resaw to get a thick enough piece of wood for half-blind dovetails as well as the spalt lines I liked. I sawed out a thin veneer to save the spalt and cut through dovetails on maple from another part of the board, as my material allowed. The veneer with the desired grain graphics is later laminated onto the drawer front, giving the illusion of half-blind dovetails.
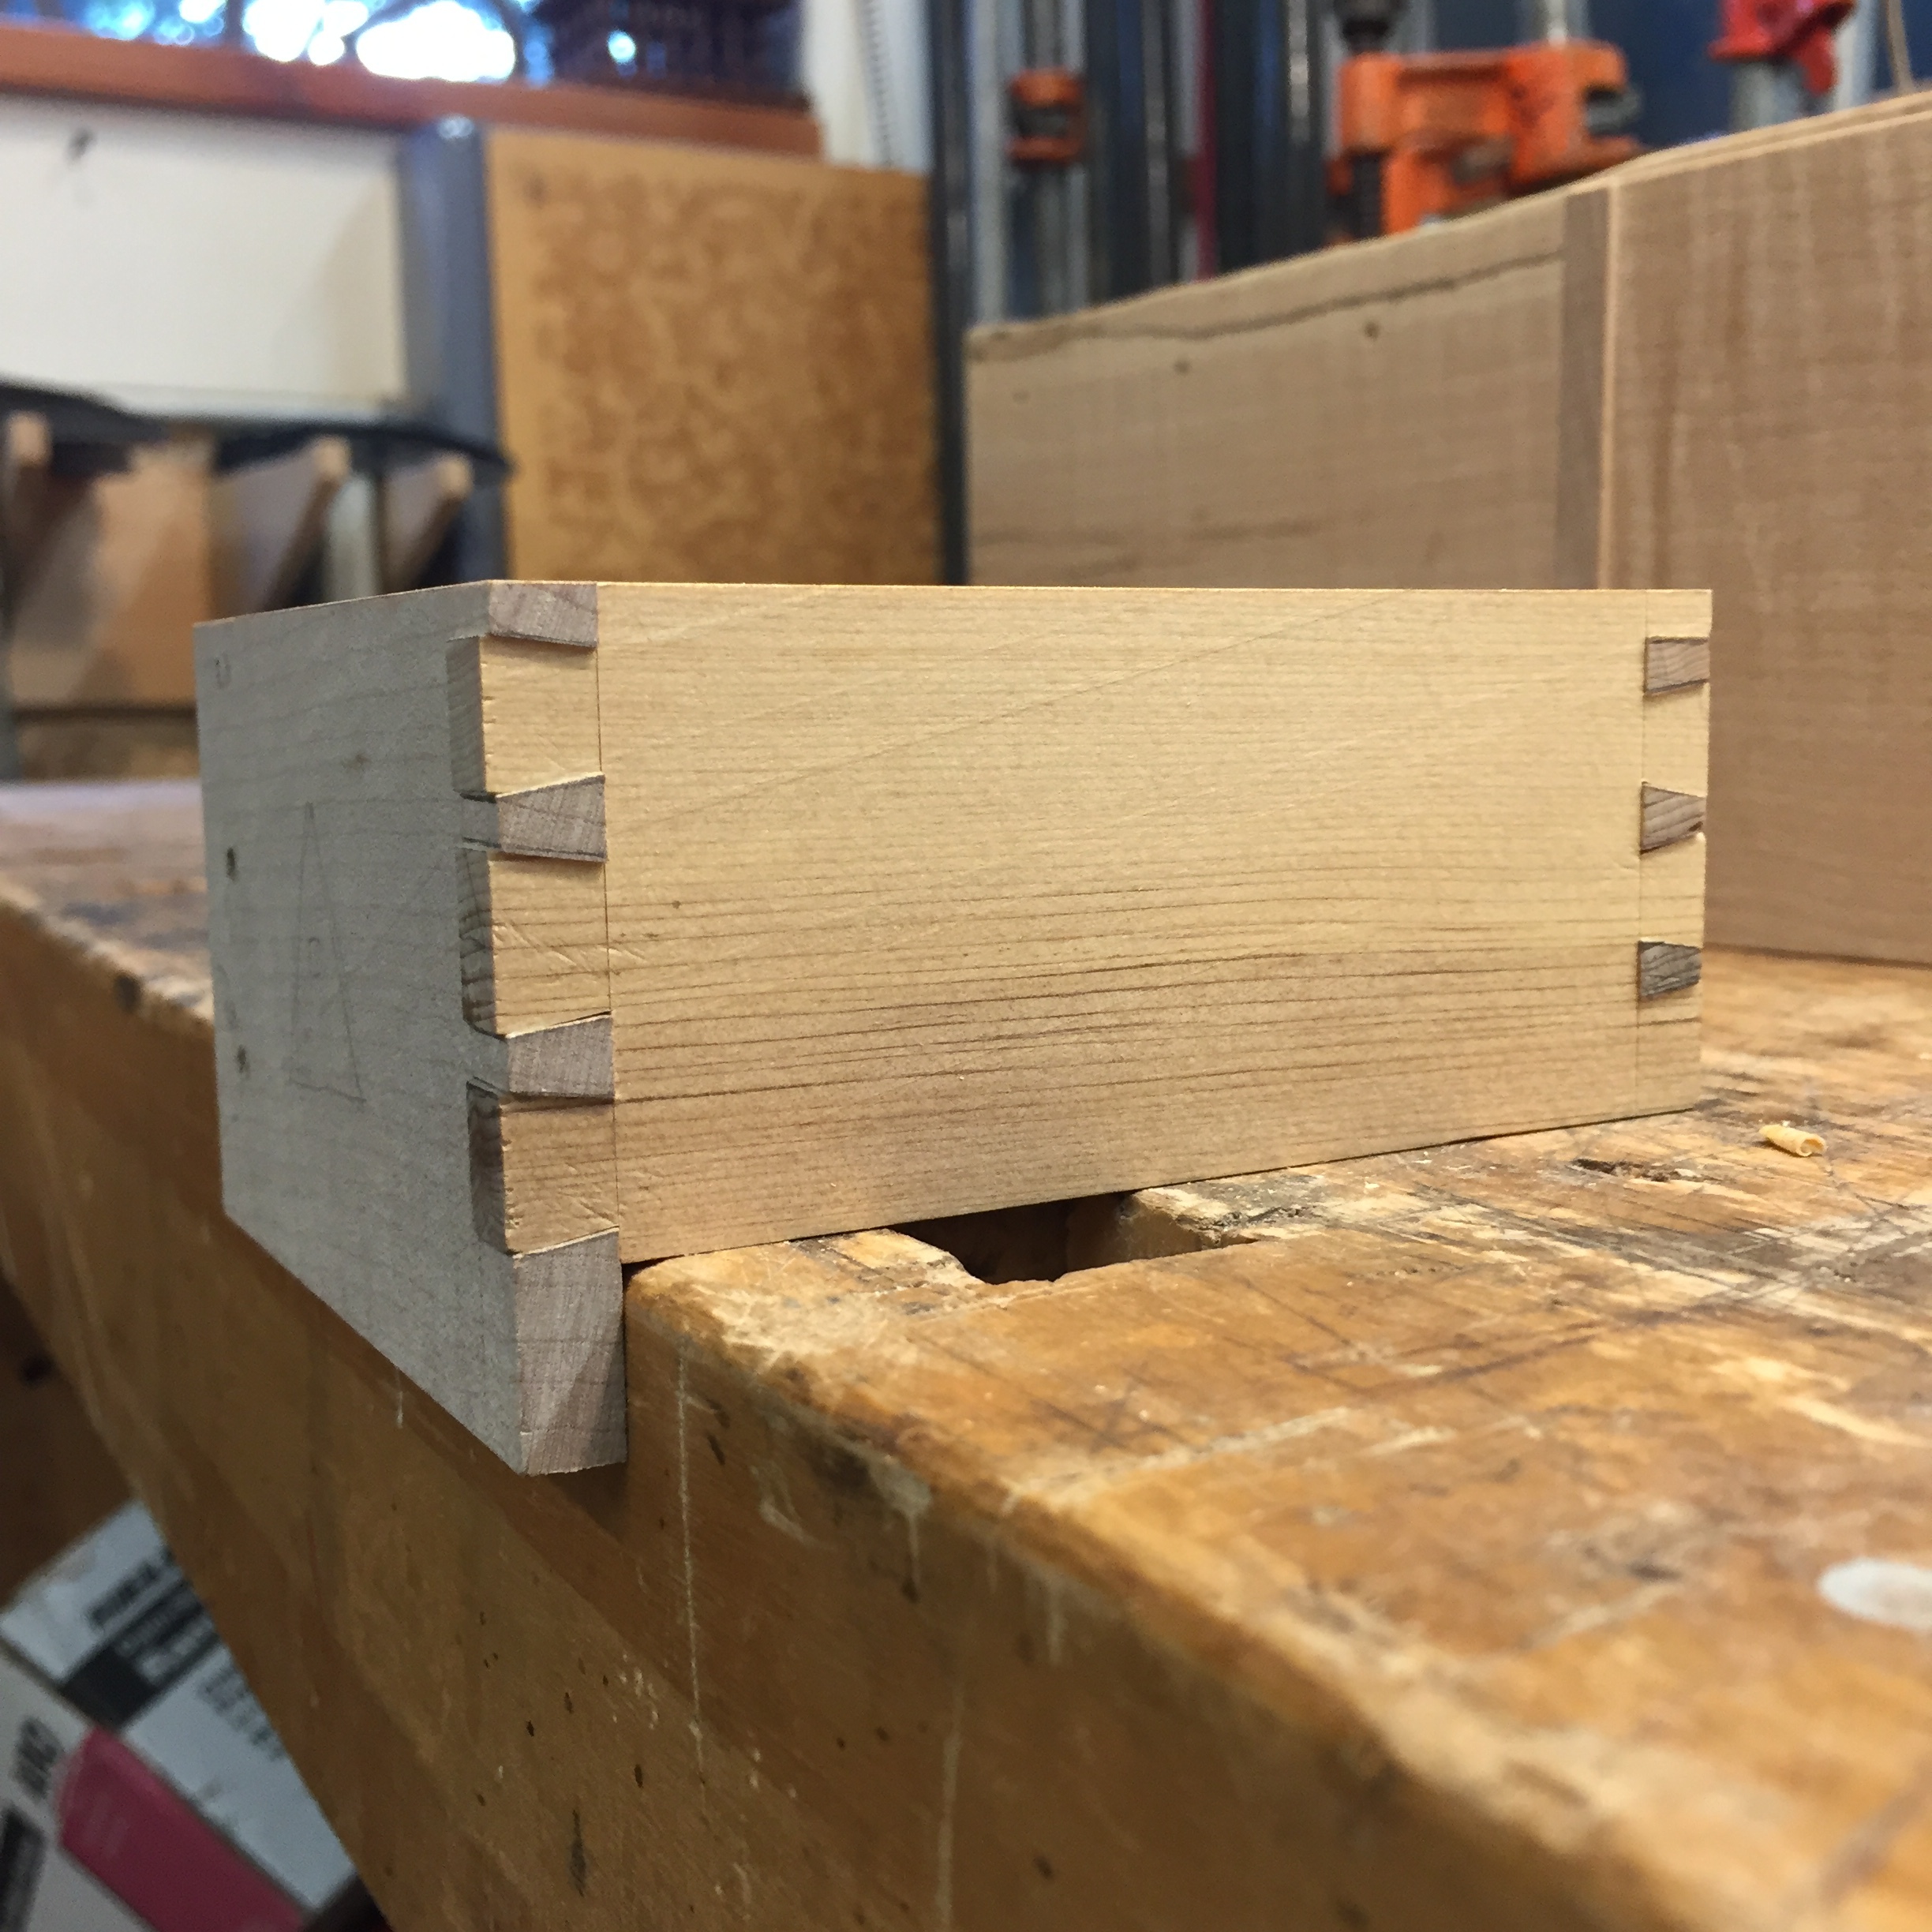

Three corners are dovetailed, and one is doweled. The doweled corner allows the drawer front to overlay the left side of the pocket. The pins are cut proud of the drawer sides, to be trimmed after glue-up. The drawer itself is constructed to be slightly oversized. Before gluing, a groove is run to accept the drawer bottom.


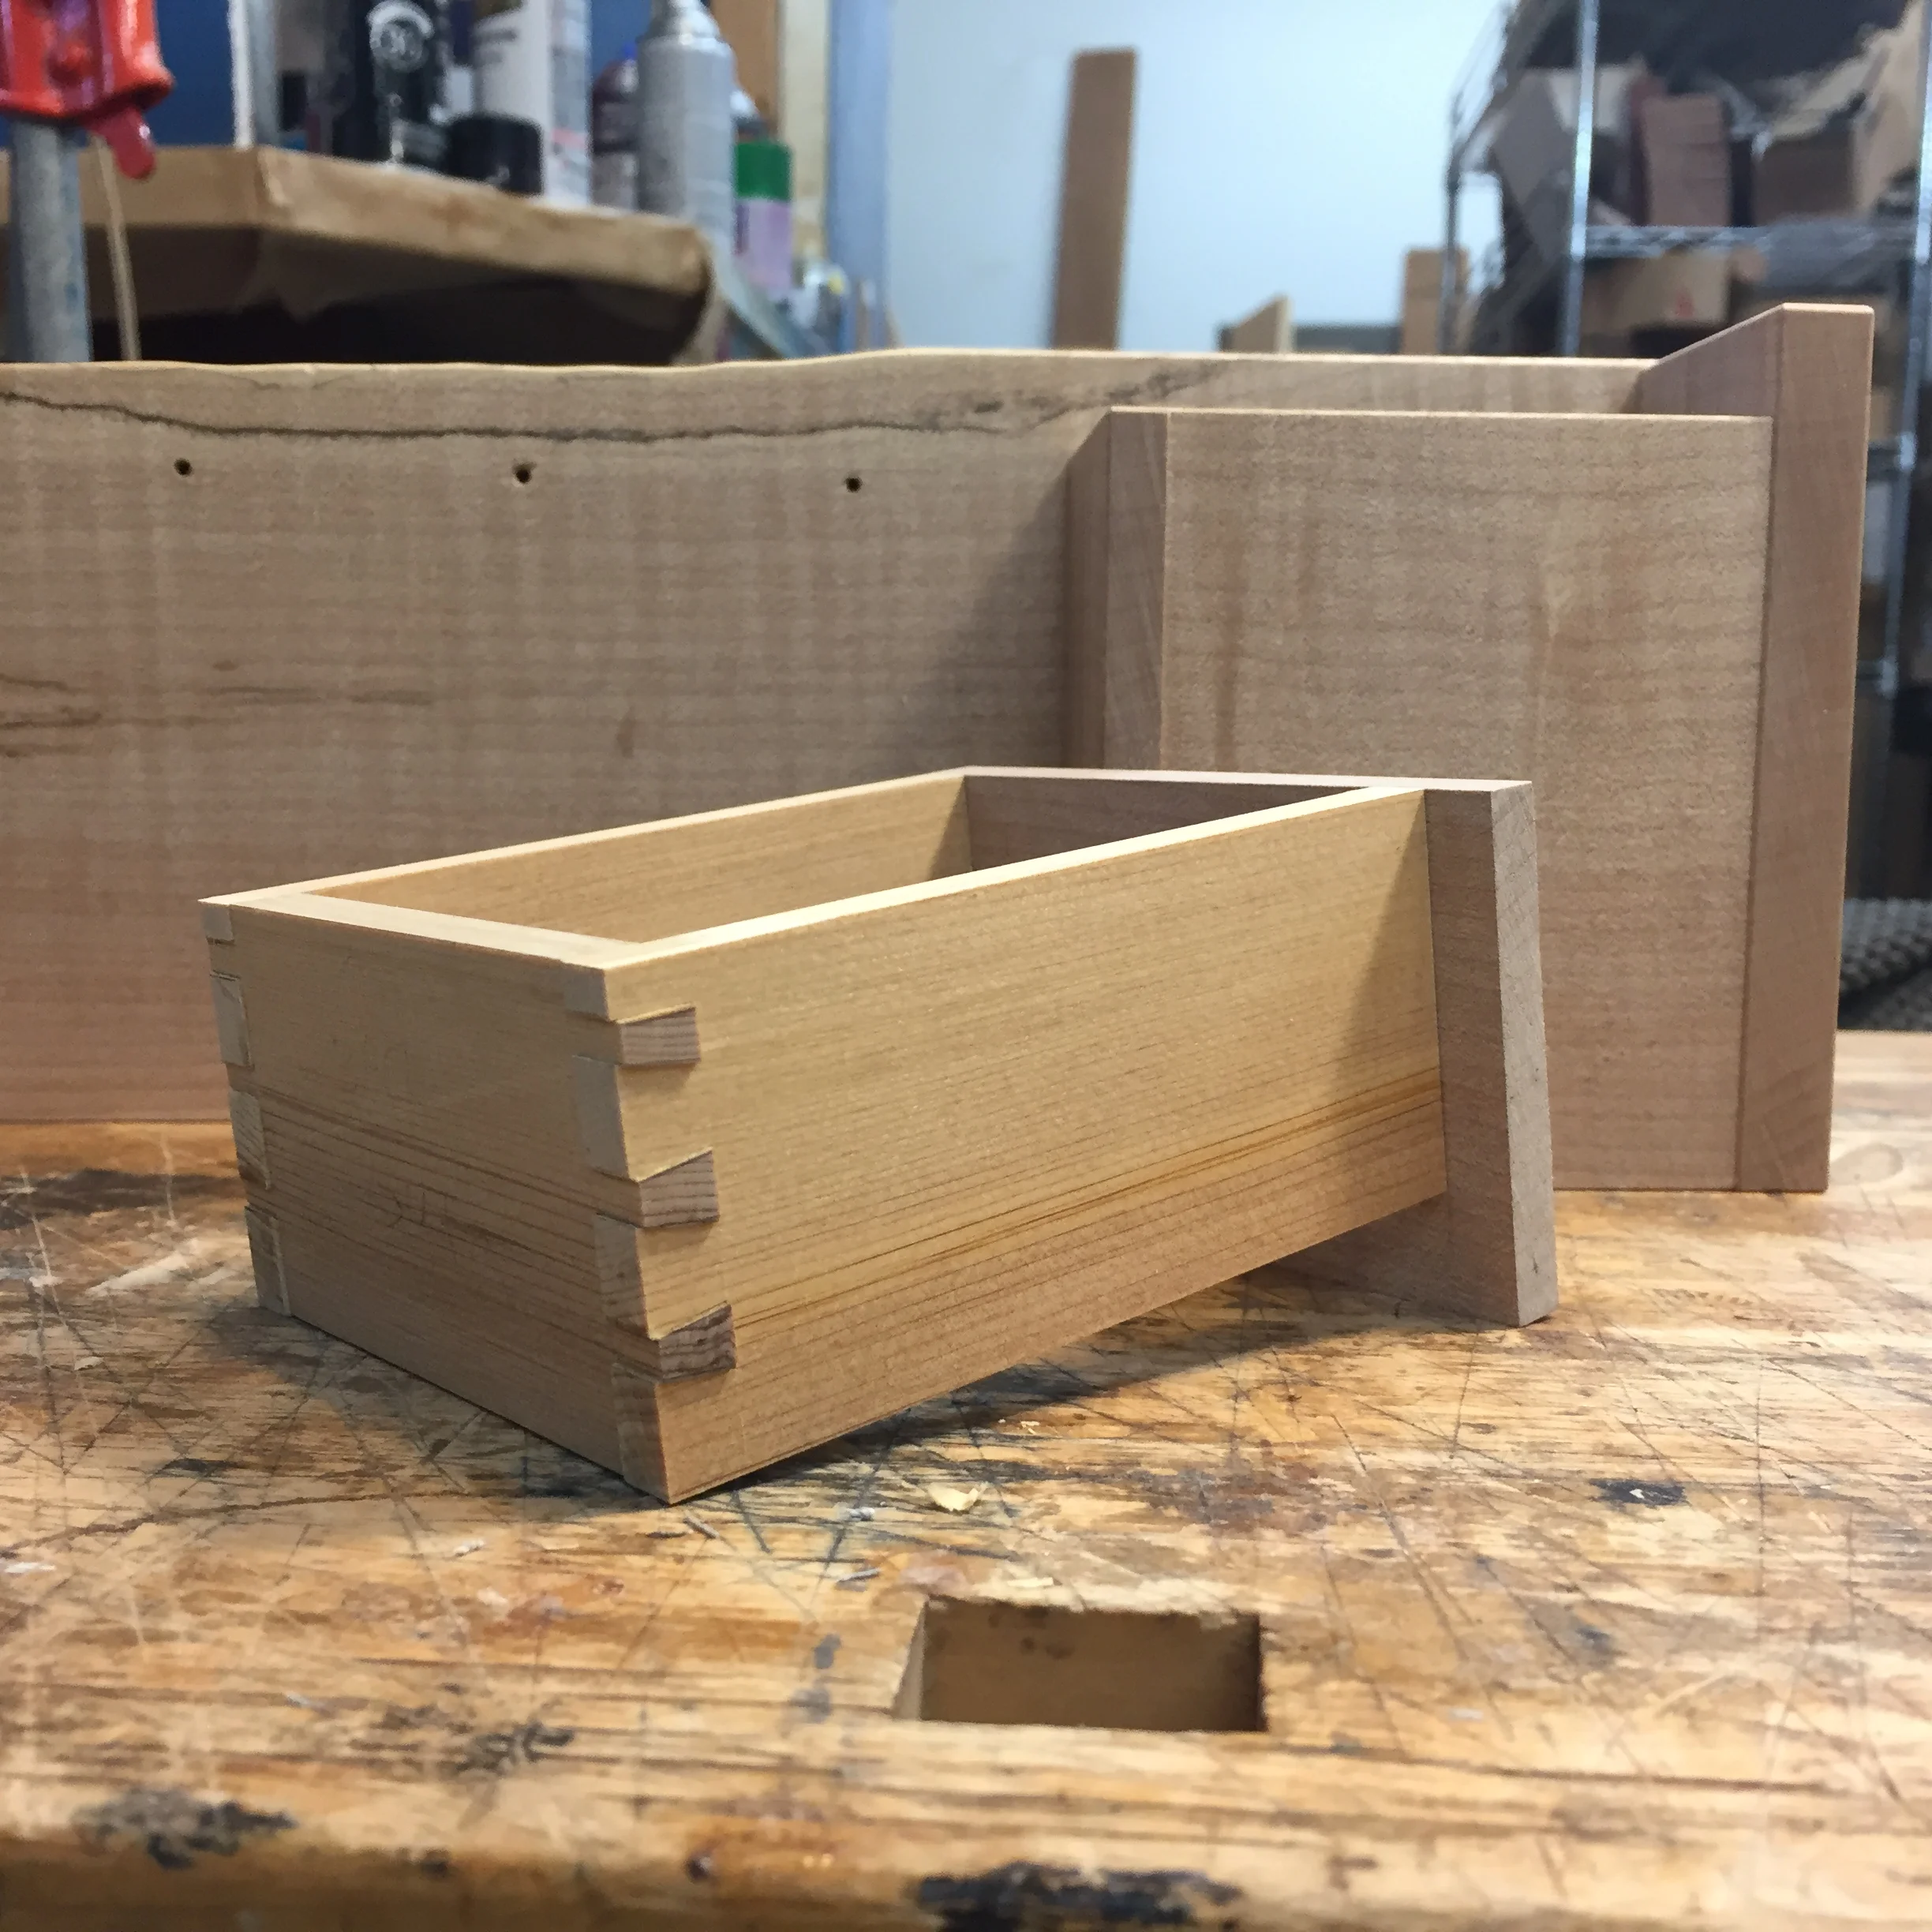
Once glued up, the drawer is handplaned to fit: a pile of fragrant Port Orford cedar shavings from fitting the drawer, which goes home for the first time. The parts still remaining are all cut out: the drawer front veneer, the drawer bottom (rabbeted to fit in the drawer groove), and the veneer for the back of the drawer pocket.


The bottom can affect the drawer run, so it is installed after the final fitting. It’s pinned in the back with a small brass screw, which allows for wood movement forward, into the deeper groove along the drawer front. The final glue ups: veneer on the drawer front (slightly oversized in case of slippage during glue up, trimmed flush afterwards) and the veneer for the back of the pocket.


There are a myriad of little things — finishing, tapping screw holes, chamfering edges, spokeshaving in a little pull under the drawer front — that aren’t captured here (who wants to stop mid-flow? Certainly not me, and certainly not during hand planing!) that go into the final piece. The little shelf (plus a little hanging stick to indicate screw locations for the hangers) goes to its new home.
In the end, there’s a little scrap of leftover wood that I’ll hoard for an inordinately long time, wondering what its perfect purpose will be. But a lot of things — doweling jigs, story sticks, cut-offs saved to repair potential disasters — have served their purpose and become obsolete. I rarely build the same, even similar, thing twice — so much depends on the wood, now consumed — so finishing a project is a bit melancholic.
I clean my bench — my working landscape changes entirely — and begin again.